Mobile Application Tools in VS: - Native apps with .NET (XAMARIN)
- Hybrid apps with JavaScript (CORDOVA)
- Native apps with C++
XAMARIN overview: XAMARIN is a tool which is used to write native Android, iOS, and
Windows apps with native user interfaces and share code across multiple
platforms, including Windows and macOS with C# codebase. Configure XAMARIN tool in Visual Studio:
We
will see how to configure XAMARIN tool here with simple steps, Step 1 - Add Xamarin to existing VS 2015:
- Go to
control panel and select Programs and Features.
- Select Microsoft
Visual Studio and click Change button.
- Click on
Modify button in Visual studio installer.
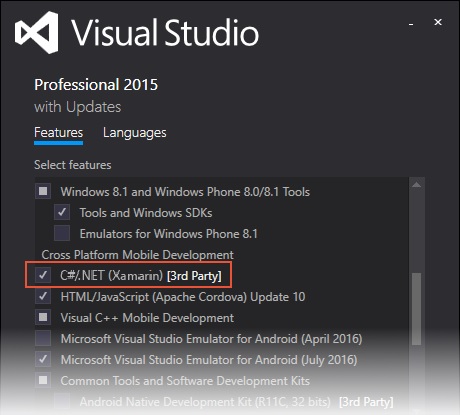
- In the Features tab, scroll down to Cross Platform Mobile Development and click the
checkbox next to C#/.NET (Xamarin) as below,
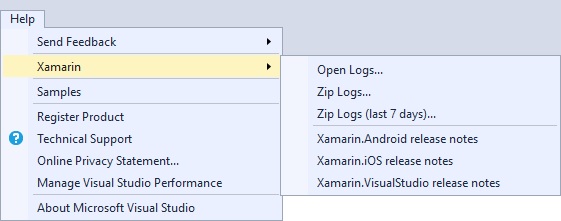
 Step 2 - Verify XAMARIN installation: - Verify Xamarin options on click of Help and
hover over the Xamarin.
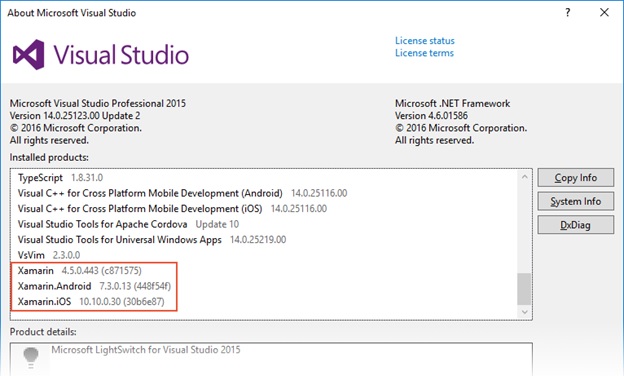
- Verify
Xamarin options from Help à About Microsoft Visual Studio.
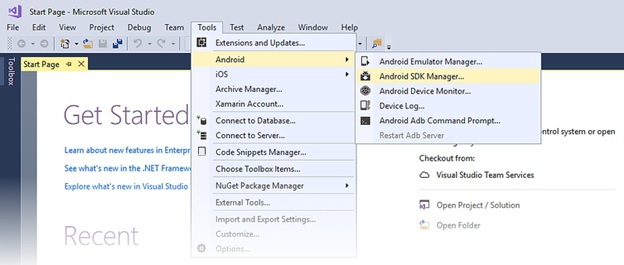
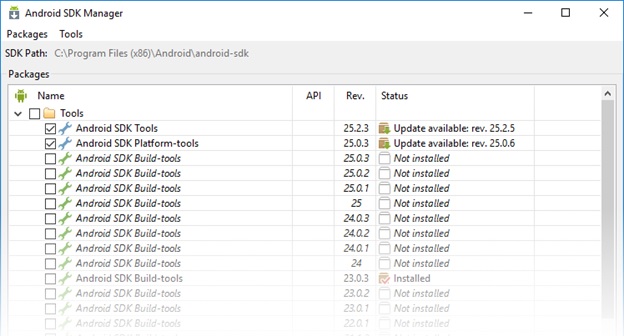
 Step 3 - Configure XAMARIN SDK in Visual
Studio: - Choose Tools à Android à Android SDK Manager.
- Choose
the required tools to install or update.
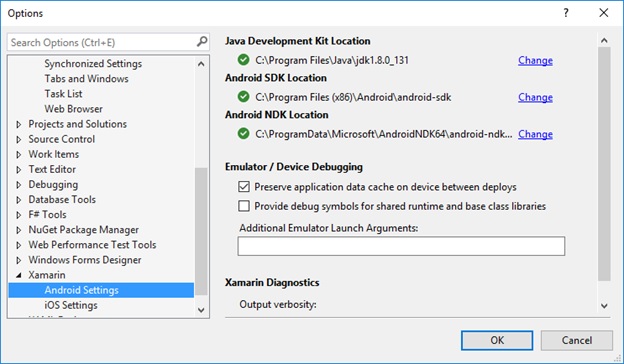
Step
4 - Verify Installed Development Kits required:
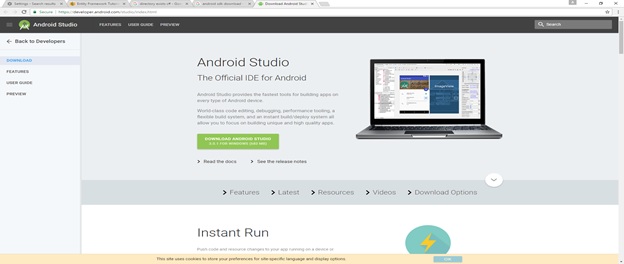
Step 5 - Download and
Install Android Studio: (Optional platform for building Android apps)
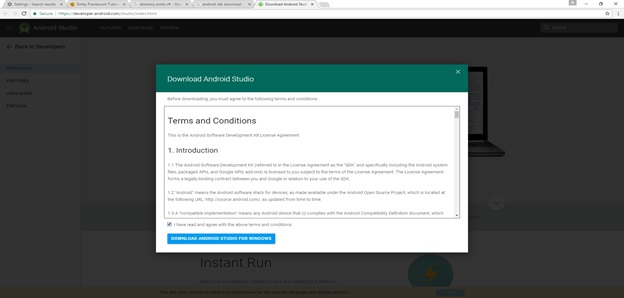
Download Location for Android Studio: https://developer.android.com/studio/index.html Installation guidelines for Android Studio: https://developer.android.com/studio/install.html
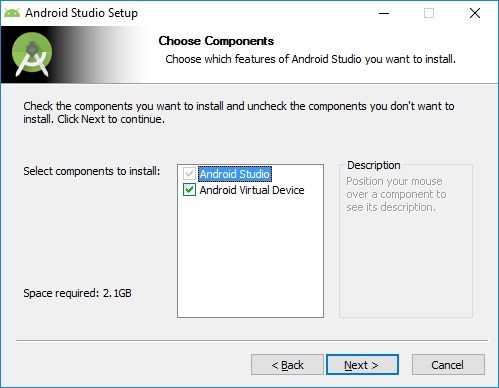
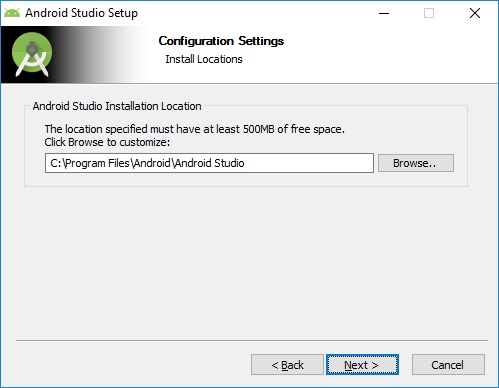
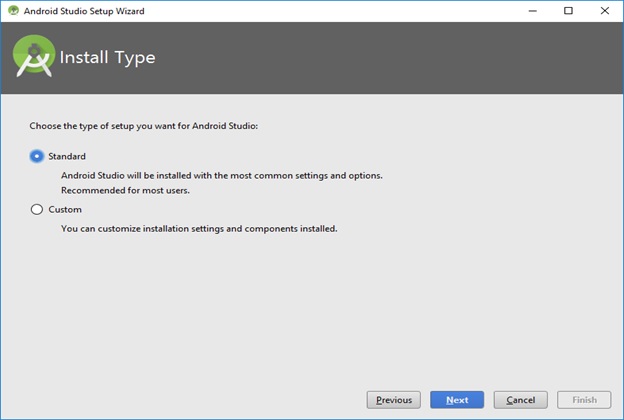
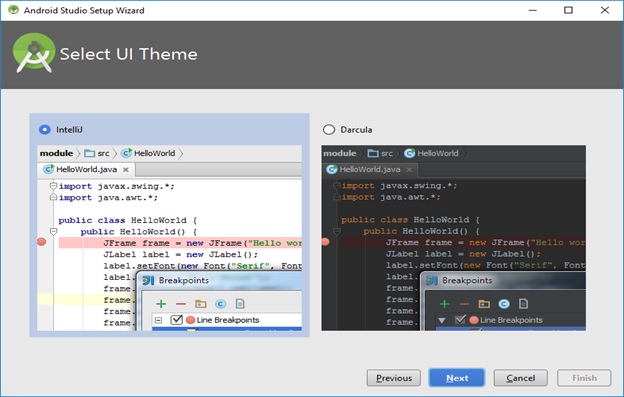
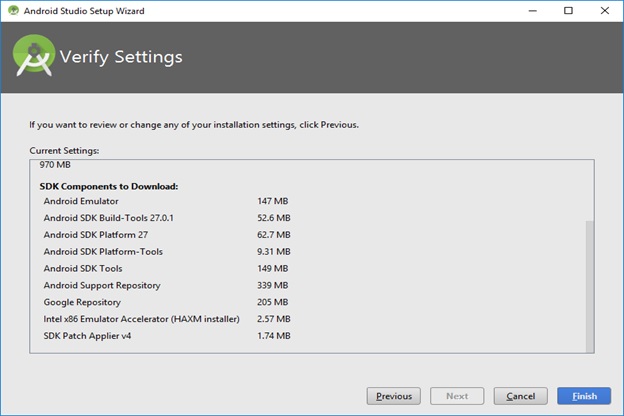
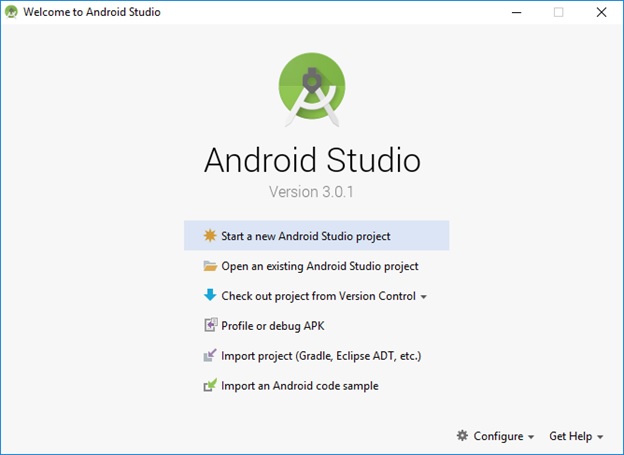
Steps to Set up Android Studio:
Step
6 - Create Sample Xamarin App:
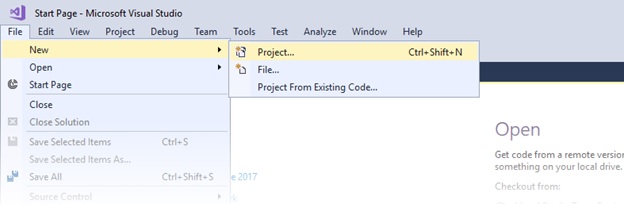
- Click
File à New à Project.
v
- Choose
Android à Blank
App,
- Choose name
and location then click Ok

Thanks for reading this article. Please give your feedback to improve this. |