|
Different types of Pop-Up in WPF
Table of Contents
-
Introduction
-
How to create a Pop-Up in WPF
-
Calling the Pop-Up page in Main Window
-
Conclusion
Introduction
The
Popup in XAML represents a WPF Popup control(<Popup></Popup>). As you see there are many properties present among which I will
be listing few for your reference.
Width and the Height properties represent the width and
the height of a Popup. The Name property
represents the name of the control that is a unique identifier of a control.
The Margin property is used to set the location of a Popup. There are other
properties like Horizontal Alignment and Vertical Alignment which are used to
set horizontal and vertical alignments.
The following code snippet sets the name, height, and width of a
Popup control. The code also sets
horizontal alignment to left and vertical alignment to top.
<Popup Margin="10,13,2,13" Name="myPopup" HorizontalAlignment="Right"
VerticalAlignment="Bottom" Width="122" Height="400"
/>
And there is also another property that you should keep in mind
to make a popup control visible, is to set IsOpen property always true.
IsOpen="True"
How to create a
POP UP in WPF
Follow the below mentioned steps for creation of popup in
wpf using xaml.
Basic Popup
creation
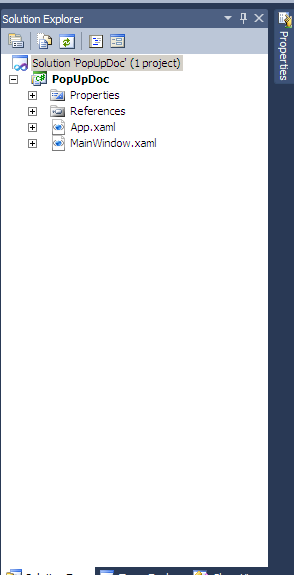
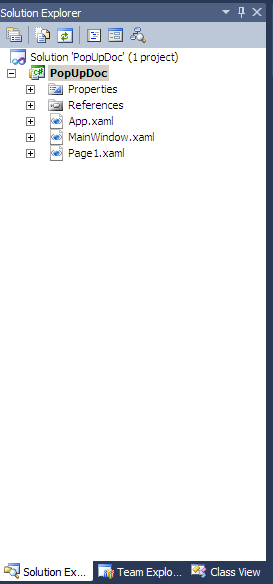
1. Create a new project in Visual Studio 2010, and
after project is loaded successfully the solution explorer screen will appear
as shown below:
.
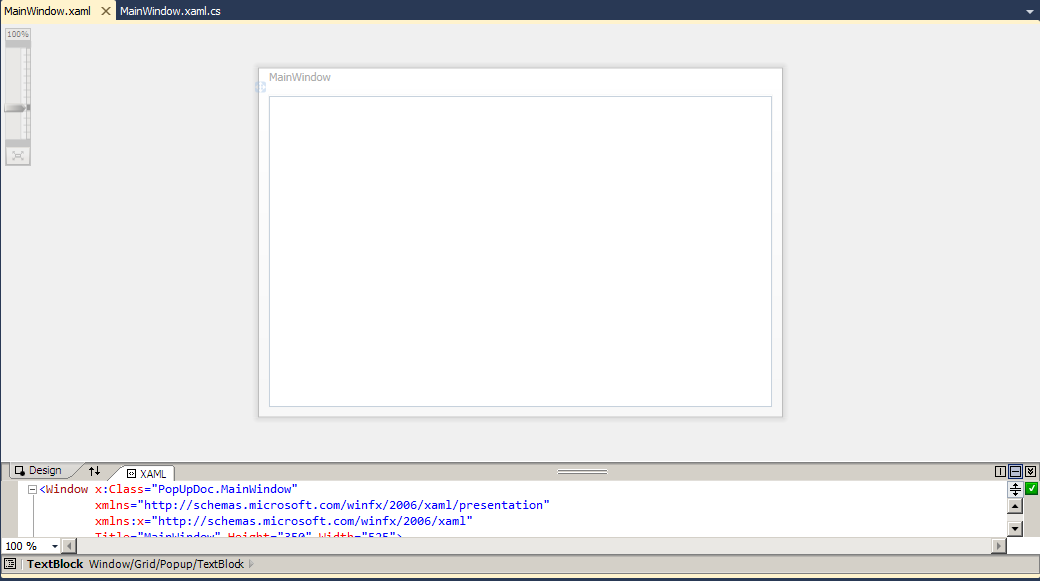
2. In the above shown screen shot open
MainWindow.xaml in that screen will appear as shown below, in that below shown
screen xaml code for popup is placed.
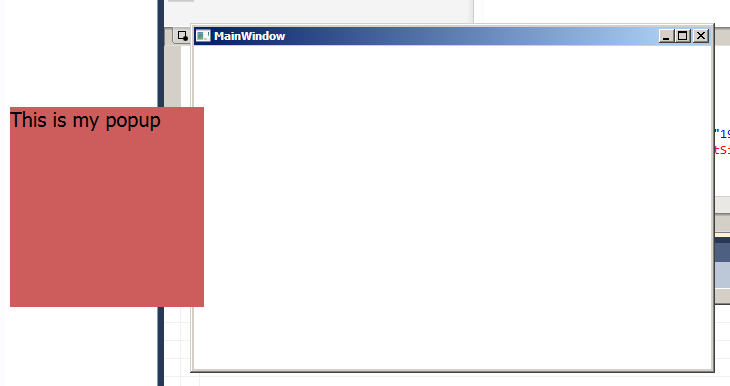
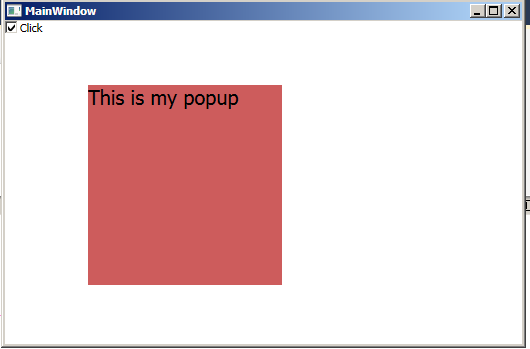
3.
Inside the grid tag, place the popup tag and set
the IsOPen property to true. The screen will appear as shown below. And the
content in the textblock will be placed inside the popup,with the background
color Red.
<Grid>
<Popup HorizontalAlignment="Right" VerticalAlignment="Top" Width="194" Height="200" IsOpen="True">
<TextBlock Background="IndianRed"
>This
is my popup</TextBlock></Popup>
</Grid>
This is the simple popup creation using WPF.
Now we discuss about the popup created using button click in
XAML window.
Popup Creation
Using Button Click
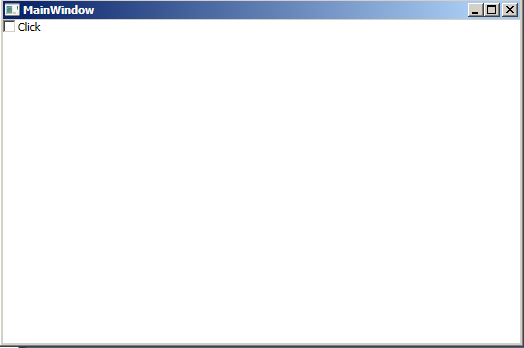
Now I have created a checkbox and when I press the check box
the pop up need to displayed in the screen
1.
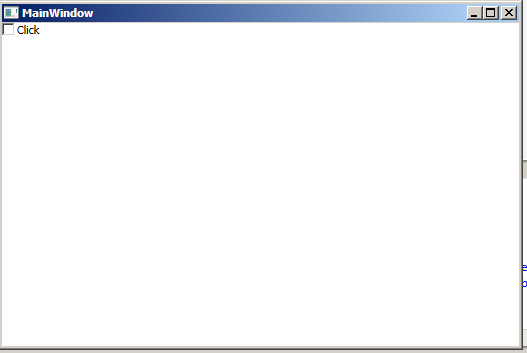
Initially we need to create a Check box inside
the xaml screen for that we need to configure the Check box in xaml
<CheckBox x:Name="btnPopup" Height="30" Width="50" Content="Click" VerticalAlignment="Top" HorizontalAlignment="Left"/>
After entering these values the screen will
appear as shown below:
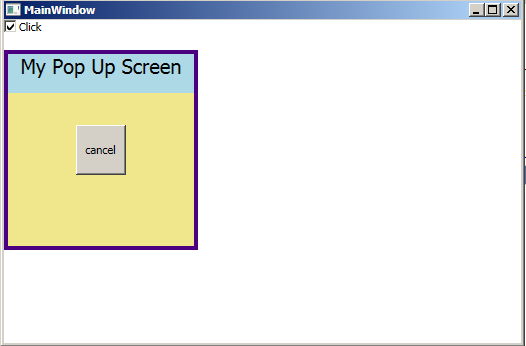
2. After completion of the above step, we should
bind the Check box name inside the IsOPen
property of the Popup tag inside the WPF.
IsOpen="{Binding ElementName=btnPopup, Path= IsChecked}"
3. After binding the IsOpen property, the screen
will appear as shown below:
Placing PopUp inside a frame in XAML
Now we see how to place a popup inside a
frame WPF.
1.
For this we need to create a new page in the
solution explore. Name the page as the Page1.xaml:
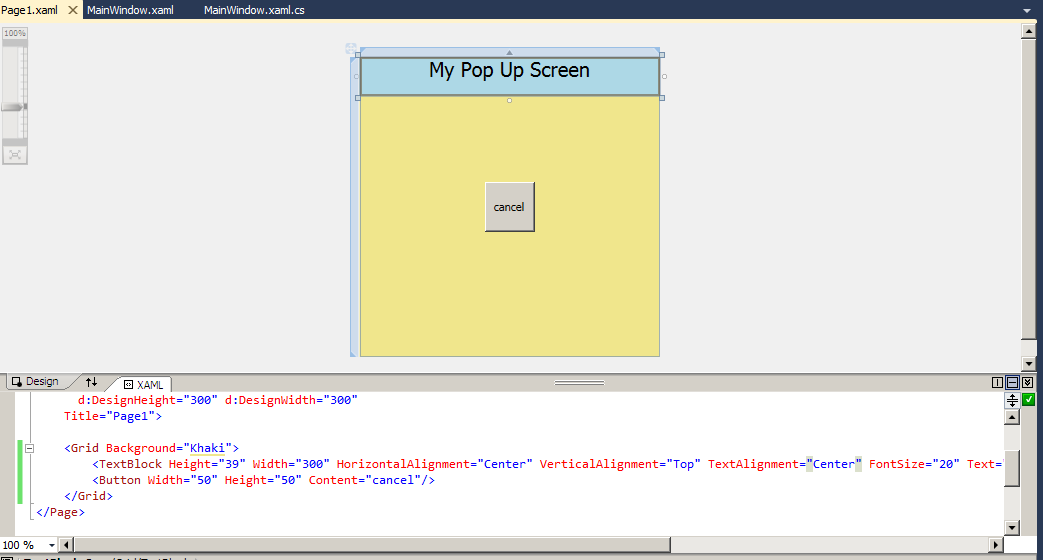
2.
Now open that Page1.xaml and enter your contents
that need to be displayed. I have placed my contents inside the Page1.xaml as
shown below:
3.
Now moving into the MainWindow.xaml screen
placing the page1.xaml inside the frame and the steps shown below:
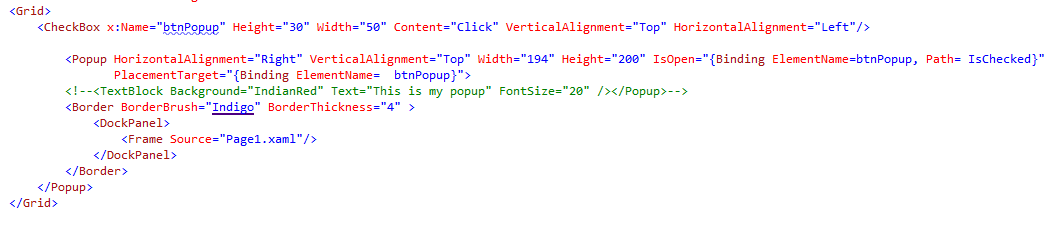
4.
Now as you see the I have placed the frame tag
inside the border and the popup tag and in the frame tag I have given the
source as my newly created page.
5.
So if we give the page1.xaml inside the frame
the page will be given the border and the page1 will be placed inside the
border.
6.
The screen shot is shown below for you
reference:
Conclusion
In this article I showed how to use a Popup control in WPF.
If you have any questions regarding improvement of this article then please do
comment. Thank you for reading my article.
|